
How to create quilted nail designs
If you love quilted designs and gel nail polish, then you’ll love this tutorial on how to create a quilted nail design using gel nail polish! This design is perfect for any occasion, and is surprisingly easy to create.
All you need is a few colors of gel polish, a dotting tool, and a little bit of patience.
Follow these simple steps and you’ll have beautiful quilted nails in no time!
Best gel nail polish for quilted nail designs
This type of design is created by either using one color and embossing the lines on it or using different colors of gel nail polish to create a quilted or patchwork-like effect.
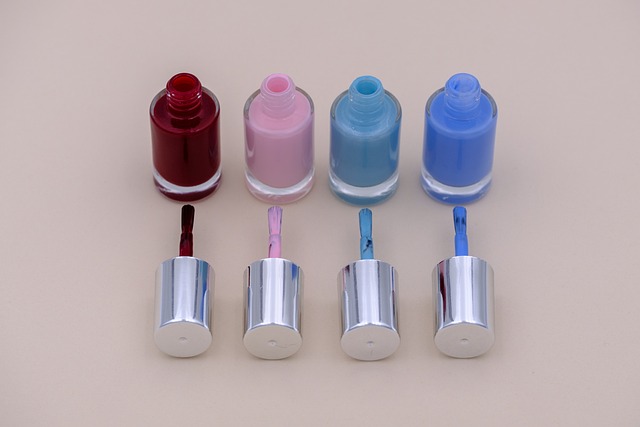
To get started, you’ll need to choose one favorite hue or 3-5 colors of gel nail polish that you want to use for your design.
If you’re not familiar with gel nail polish, it’s a type of polish that is cured under a UV or LED light. Gel polish is thicker than regular nail polish and tends to last longer, making it a great option for those who want their nail designs to last.
When it comes to choosing the best gel nail polish to create a quilted nail design, there are a few things you’ll want to keep in mind.
- First, you’ll want to choose a gel nail polish that is a solid color. This will make it easier to create the quilted effect.
- You’ll also want to make sure that the gel nail polish you choose is thick enough to create the quilted effect.
- The color of gel polish you use will affect the overall look of your nails. If you want a more subtle quilted look, you may want to choose a nude or light-colored gel polish. If you want a more dramatic look, you may want to choose a dark-colored gel polish.
- Finally, you’ll want to choose a gel nail polish that is easy to work with.
How to do it step-by-step
A quilted nail design is a timeless classic that can be achieved using gel nail polish. Here is a step-by-step guide on how to create this look at home.
- Start by applying a base coat of gel nail polish to your nails.
- Once the base coat is dry, apply a coat of gel nail polish in your desired color.
- Next, apply a second coat of gel polish.
- However, before this layer is dry, to create the quilted effect, use a dotting tool or a toothpick to draw crossing lines from the center of each nail outwards.
- Once that polish layer has been cured, use a dotting tool or a toothpick to create small dots on your nails in a contrasting color in places where the lines cross.
- Finish off the look by applying gel top coat.
- Cure your nails under a UV lamp.
Some tips
Quilting is a popular motif in nail art, and there are many ways to achieve the look. Here are a few tips on how to create a quilted nail design using gel nail polish.
- To start, choose a base color for your nails. A light color will make the quilting design stand out more, while a dark color will give a more subtle look.
- The look is created by using a dotting tool or a toothpick to emboss quilting lines on your nails.
- You can make the quilting lines as thick or thin as you like, and you can also vary the spacing between them.
- To add some interest, you can also include different colors in your quilting design.
- Once you’re happy with the design, apply a layer of gel top coat to seal it in.